Convergence Media Art Director & Educator
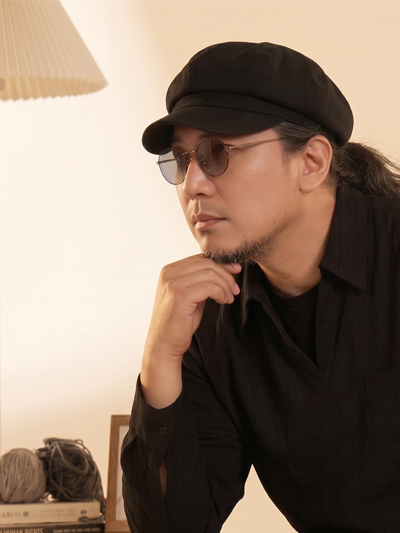
Sang Jun Kim Author
A Practical, Hands-on Guide
FROM LOGIC TO ART
Over the past decade, passing through top-tier post-production and media groups in Korea, I have accumulated intensive practical experience at the forefront of the Korean CG and VFX industry. By deeply mastering the high-end software used as a global standard, I have laid the technical foundation to perfectly manifest any imagination in my head into reality on the screen.
However, I realized in the field that advanced technical achievement does not necessarily guarantee the perfection of the work. To leap from a simple technical operator to a creative director equipped with planning ability and artistic philosophy, I have repeatedly conducted academic research on the essence of visual art and media convergence.
This exploration led my CG skills to a new spatial canvas called 'Media Art'. Houdini's procedural algorithms and massive data control power go beyond simple movie effects and become the core driving force of media art that realizes generative visuals. From the media facade 'Creation of Heaven and Earth' presented on the front of the Sejong Center for the Performing Arts, to 'Cinema in Jazz' which attempted interaction between jazz and video, I have proven the contact point between technology and art through convergence art attempts that cross genres.
Currently, at Kyung Hee University and Chungkang College of Cultural Industries, I am passionately imparting the vivid know-how of the field to the younger generation, nurturing next-generation media creators with logical thinking for problem-solving and a convergent perspective.
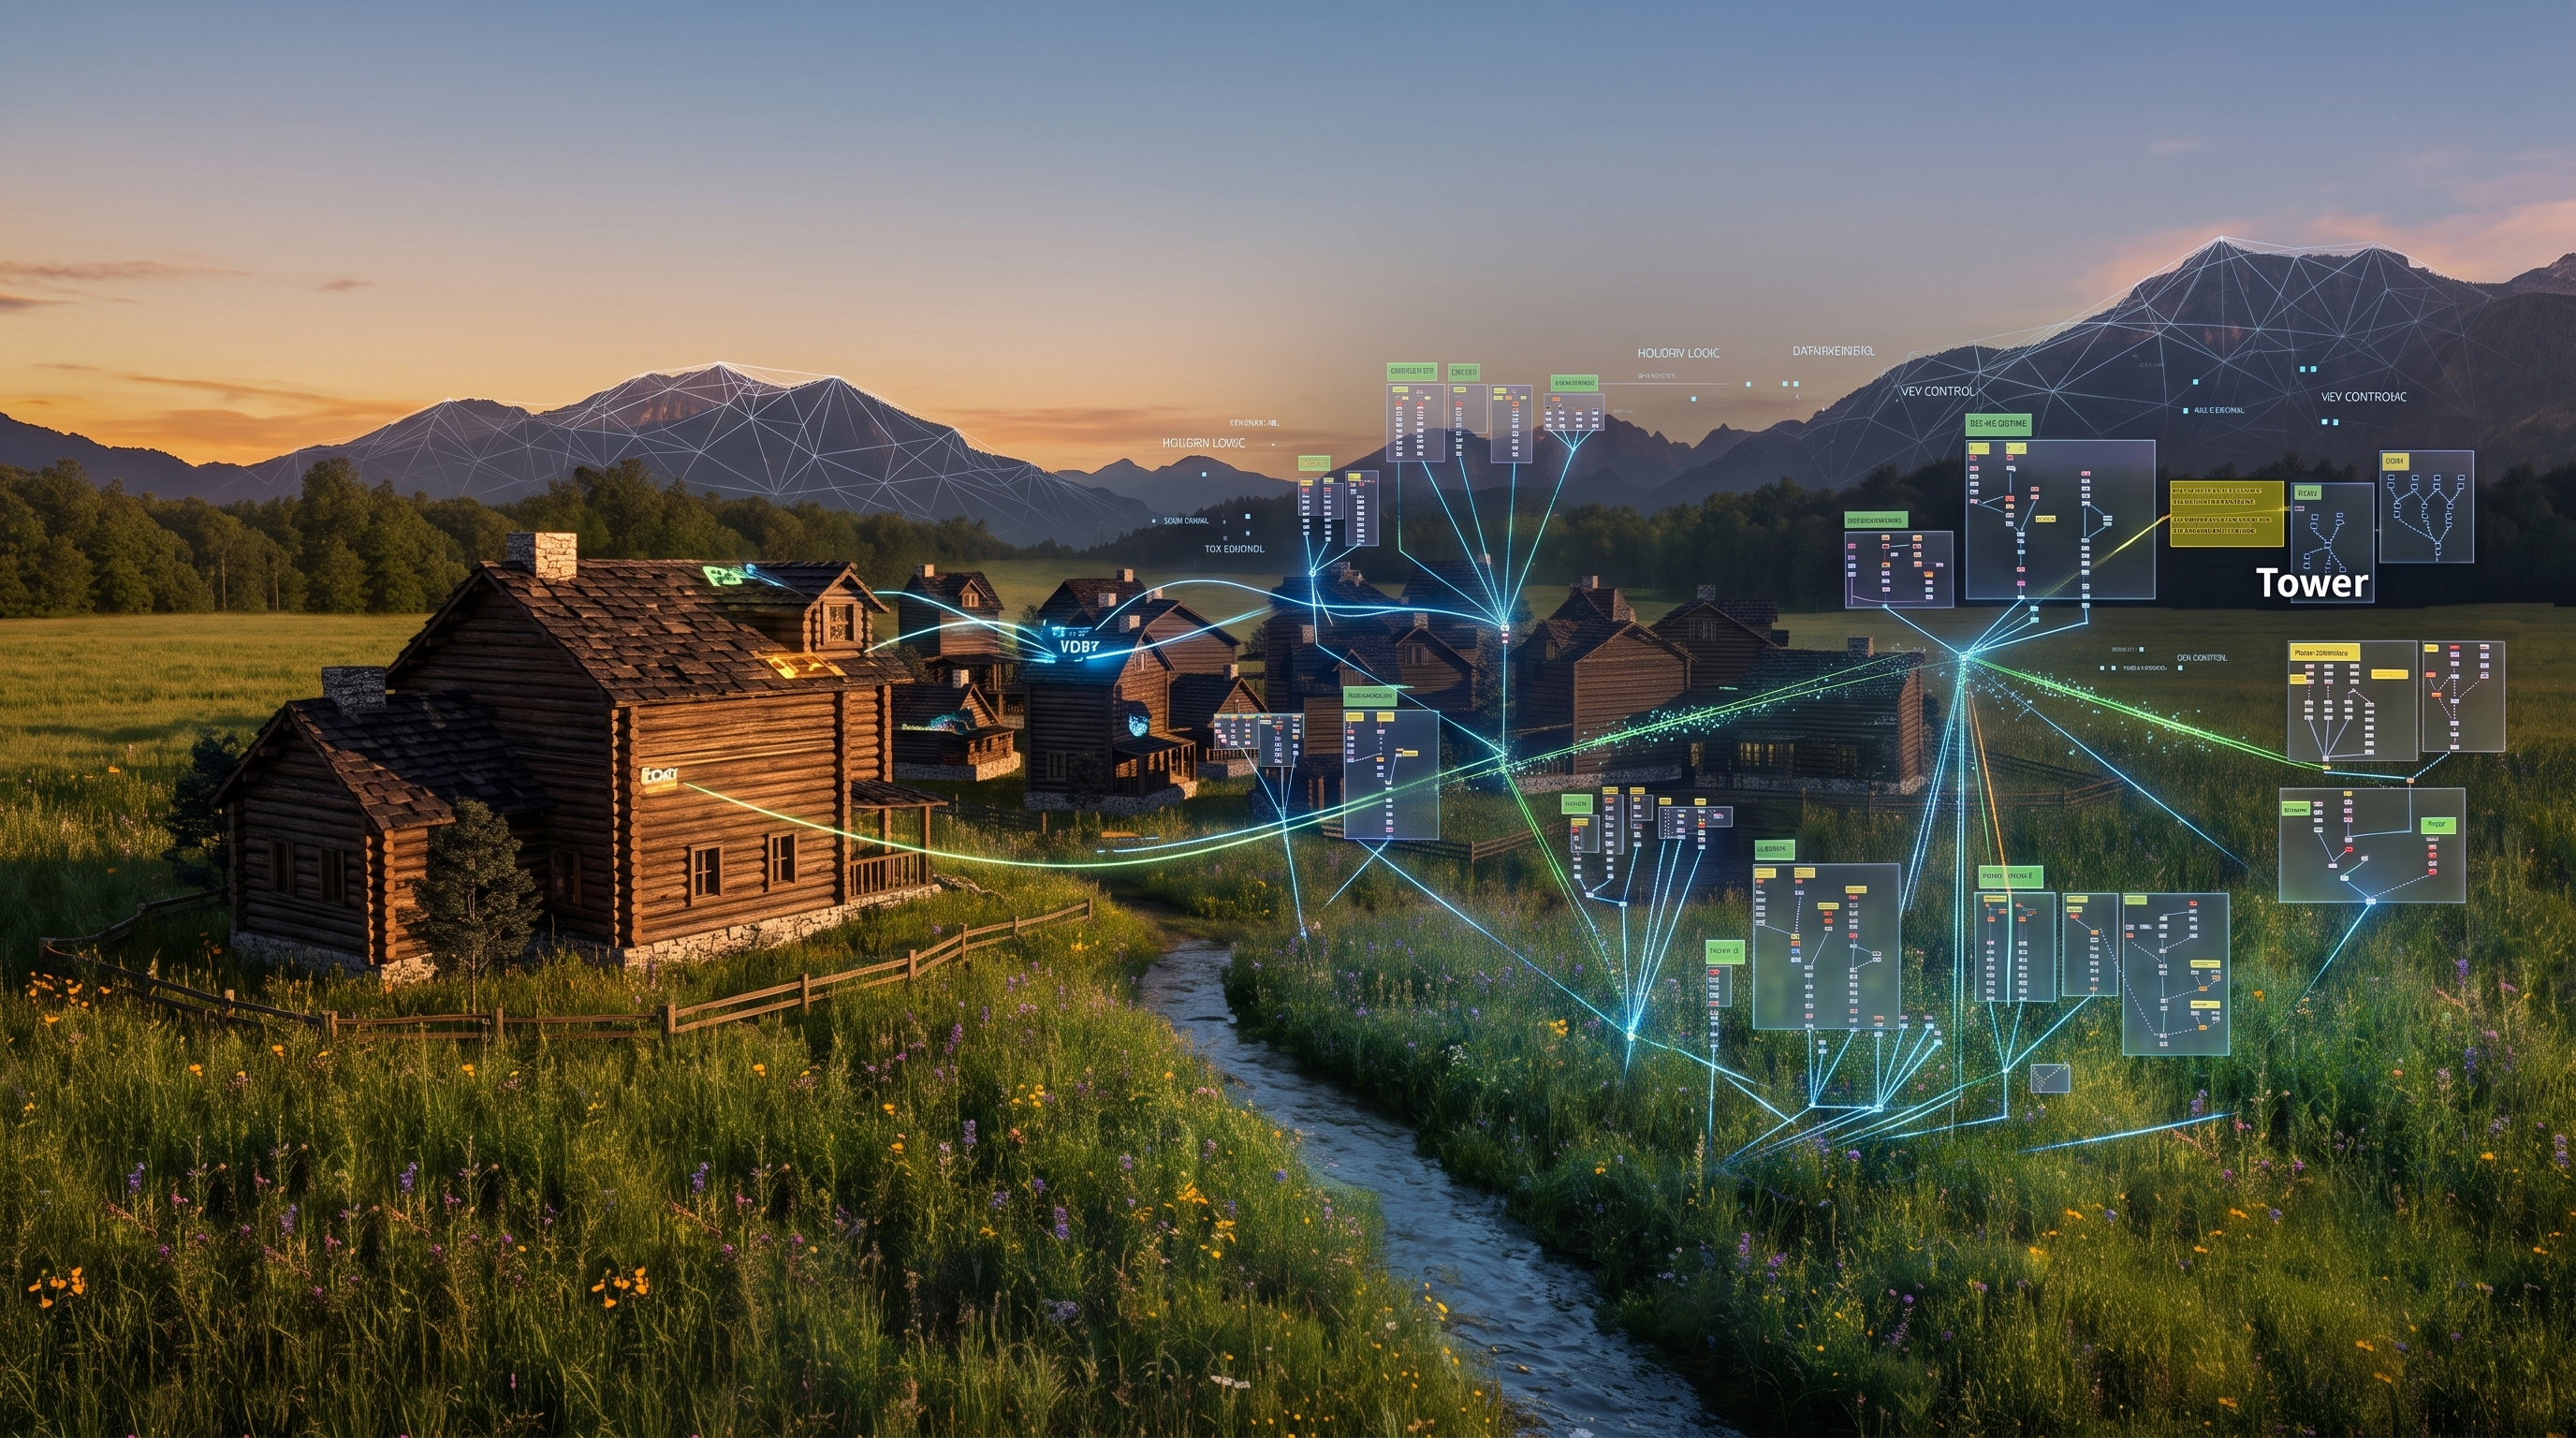
Learning 3D graphics, especially Houdini, is not just a process of memorizing the location of buttons in a tool. It is the process of becoming a 'Technical Director' who mathematically and procedurally controls the form and movement of objects in the language of computers. What is truly required in the field is a robust design ability to flexibly cope with variables.
The vast world of Houdini is divided into two processes: <3D FX I: Procedural Modeling>, which logically designs the framework of data, and <3D FX II: Dynamics>, which breathes physical vitality into it.
This textbook (Vol.1), as the first journey, focuses on essential logic such as 'Why do we need to attach this node?' and 'How does the system respond organically when numerical values change?', rather than flashy appearances.
Through this book, I hope you will grow into a true professional who can actively control the system under any client's demands.
Chapter 01. Understanding Houdini and Basic Interface
In the past, Houdini was known only as an exclusive tool for FX (special effects) such as water, fire, smoke, and wind in movies. However, recently, as the user base has diversified, Houdini is being used as a core tool in various pipelines such as modeling, rendering, and motion graphics. At the center of this is 'Procedural Modeling'.
In this chapter, you will learn how Houdini differs from other 3D tools, and why the 'Procedural' workflow is a powerful weapon.
It is not a concept of sculpting a single finished product like clay, but means programming by creating rules and patterns 'to make modifications easy and applications convenient'.
| Comparison | Traditional 3D Tools | Procedural (Houdini) |
|---|---|---|
| Workflow | Intuitive approach of directly carving the result | 'Design' approach deriving results by connecting nodes |
| Client Revisions | Often requires remaking from scratch | Immediate and flexible transformation by adjusting parameters |
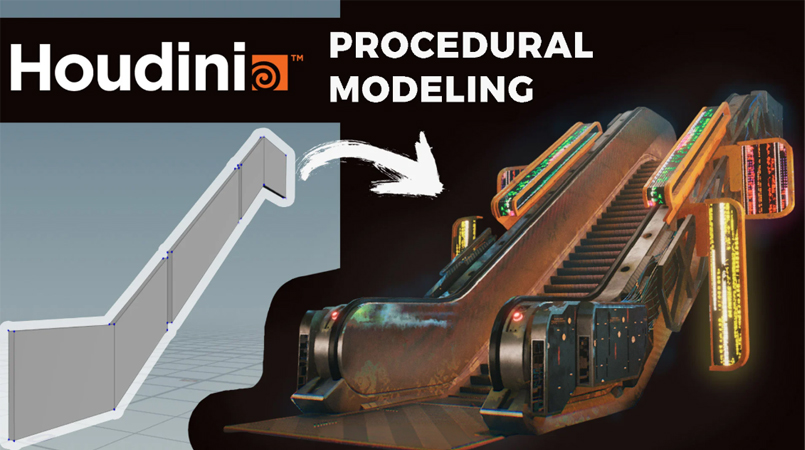
Designed so that the number or height of stairs can be adjusted with a single slider.
Source: https://rart.gumroad.com/l/
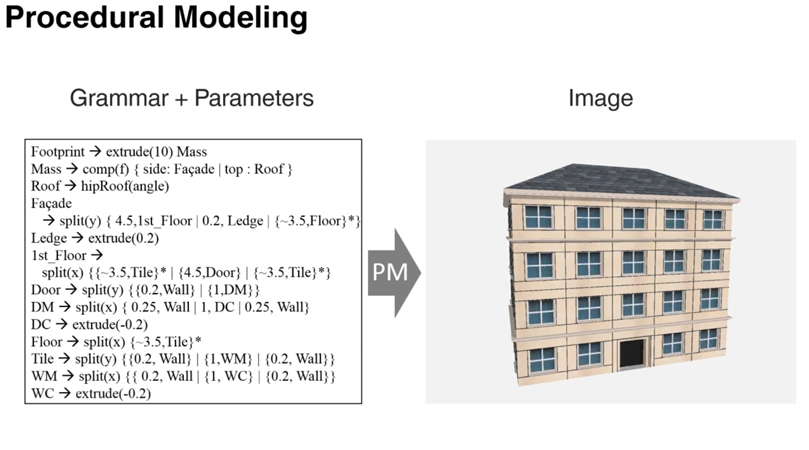
With the completed setup, hundreds of buildings with different shapes can be scattered in the background.
Source: https://www.youtube.com/
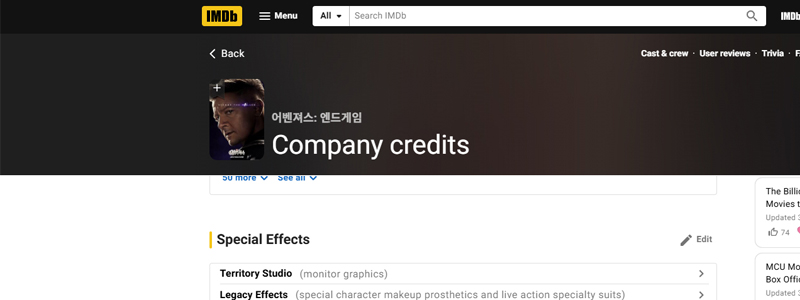
Learning only the skills of a tool while studying CG is only half the battle. You need to know which company you want to join to set a direction. Make it a habit to check IMDb to see which studio made the CG for your favorite movies.
These are the basic controls for the Houdini viewport. If you have used Maya, these shortcuts will be familiar.
* Identical to Houdini's native Spacebar combinations
We set up the screen to compare multiple windows simultaneously: the window for building nodes (Network Editor) and the window for adjusting values (Parameters).
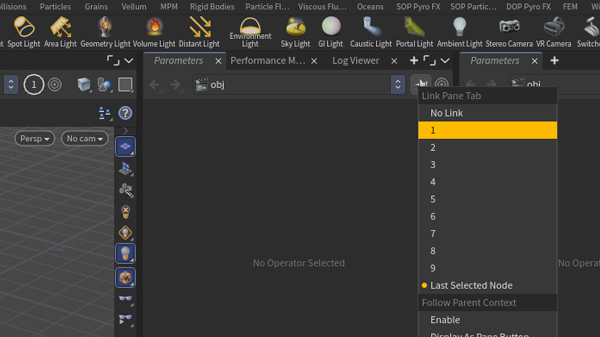
Click the icon at the corner of the pane or press Alt + [ to split the screen left and right.
Right-click the 📌 icon at the top right of the pane. Set all left tab groups to 1 and all right tab groups to 2 so they move independently.
Source: imdb.com
Split pane and pin link fixed view
The standard way to create nodes is not by clicking icons at the top, but by searching and creating in the Network Editor.
Creating an object directly at the top level makes it an independent group, which is hard to manage. Create an empty shell first.
geo to create a Geometry node.Double-click the created node or press Enter to go inside.
(Press U to go back up)
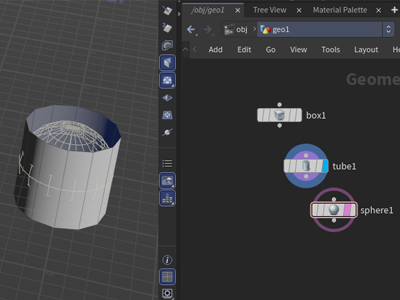
If you have created multiple nodes, you decide which one to display in the viewport using the ring button (Flag) on the right side of the node.
Click the far right of the node. It means "I will show the result of this node". You can turn on only one display flag in a single flow.
Click the far left of the node. Use this when you want to reference the position of another object as a wireframe while looking at the current Display.
If you Ctrl + Left Click an icon at the top, a node is created immediately at the origin (0,0,0) without needing to draw it manually on the screen.
Tube with Display (Blue) on, Sphere with Template (Pink) on.
To display multiple objects simultaneously in the viewport, you must combine them.
merge
You can move positions directly within a basic shape node, but the standard in Houdini is to attach a separate Transform node dedicated to object transformation to adjust it.
🤔 Why use a separate one?
The core of proceduralism is preserving the original data exactly at 0,0,0 and only adding the 'action (node)' of "moving it". You can safely return to the original at any time by turning off or deleting the move node.
As you get more nodes, organization is crucial. Use the following shortcuts to keep your network neat.
Hold the Y key and drag across a connection to cut it.
Select nodes to organize, hold A, and drag slightly to align them.
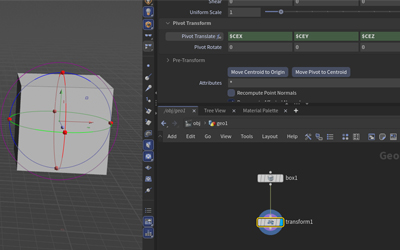
When you attach a new Transform node, the pivot is at the world origin (0,0,0), not the object's center. To rotate the object around its center, you must move the pivot.
Enter the following code in the Pivot Transform fields at the bottom of the Transform node.
Now this object will always rotate and scale based on its own center.
Pivot moved to the center of the cube
Before stacking blocks, there is one crucial rule. That is renaming nodes to be easily recognizable. If names are left as box4, tube2, fatal errors easily occur later when writing expressions.
Start by creating a base box and renaming it explicitly to base_box, the box to place on top to top_box, and the tube next to it to side_tube.
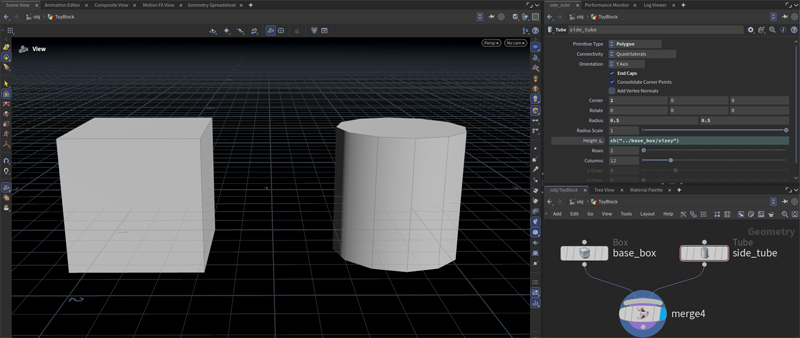
ch() Channel ReferenceLet's set it up so that when one value is changed, other objects are linked and change together. We will match the height of the tube (cylinder) to the size of the box.
base_box), right-click on the Size Y parameter -> Copy Parameterside_tube) -> Paste Relative References
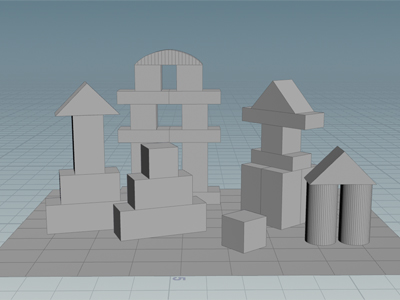
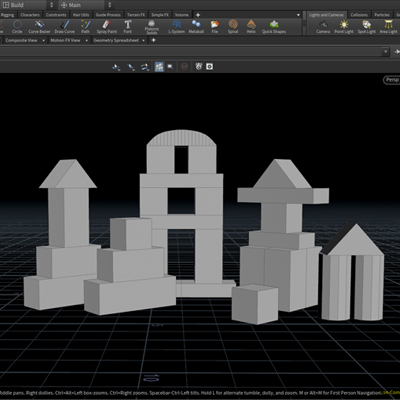
Final Goal Image for this Chapter
📌 Reviewing and Applying `ch()`
When you paste, the input field turns green and the following code is entered.
.. means go up a folder, find base_box, and get its sizey value.
You can add basic arithmetic directly. What if you want the tube's height to always be twice the box's?
bbox() Bounding Box
Now let's place another box (top_box) exactly on top of the bottom box (base_box). To stack objects accurately mathematically, rather than by eye, the bbox() function is essential.
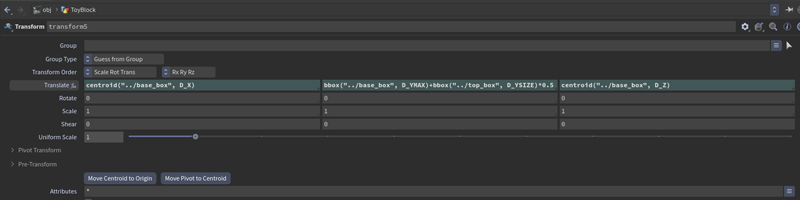
Type the following code into the Translate Y field of the top_box's Transform node.
(Note: If the path or syntax is incorrect, a red error icon (!) will appear on the node, and it will not work properly.)
bbox("../base_box", D_YMAX) :
Gets the topmost Y coordinate value of the destination bottom box (base_box). (The floor surface to sit on)
bbox("../top_box", D_YSIZE) * 0.5 :
Half of the total height (YSIZE) of the box being placed. (Since the pivot is in the exact center, you only need to move it up by half to sit flush on the ground.)
centroid()
We lifted it accurately vertically (Y-axis) using bbox. But to align the X and Z axes exactly to the center of the bottom box, we must use the centroid() function.
Enter the code below in Translate X and Z of the top_box's Transform node.
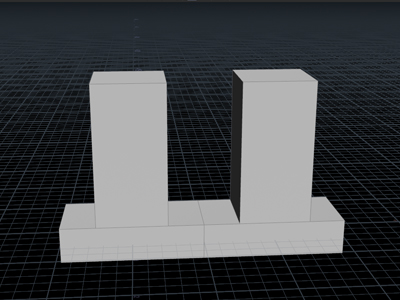
Mathematical combination of box height endpoint (YMAX) and half height of the top box
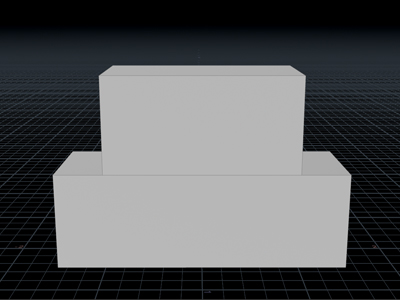
View of X and Z axes perfectly aligned to the exact center of base_box
"You can stack things like this in Maya using the Snap feature. However, unless you set up complex constraints, if the bottom box changes in size or position, the objects above will float in the air or bury into the ground."
👇 Try testing it yourself right now! 👇
Select the base_box node at the very bottom and wildly change the Size value in the parameter window.
Because in Houdini, you designed an absolute rule via code with bbox and centroid formulas that 'this object must unconditionally be at the top center of that object', you can witness the magic where no matter how you alter the base block's shape, the blocks above calculate the proportions themselves and perfectly follow along. This is the true power of procedural modeling.
Even if you increase the bottom box size, the top blocks do not fall off and automatically follow in proportion.